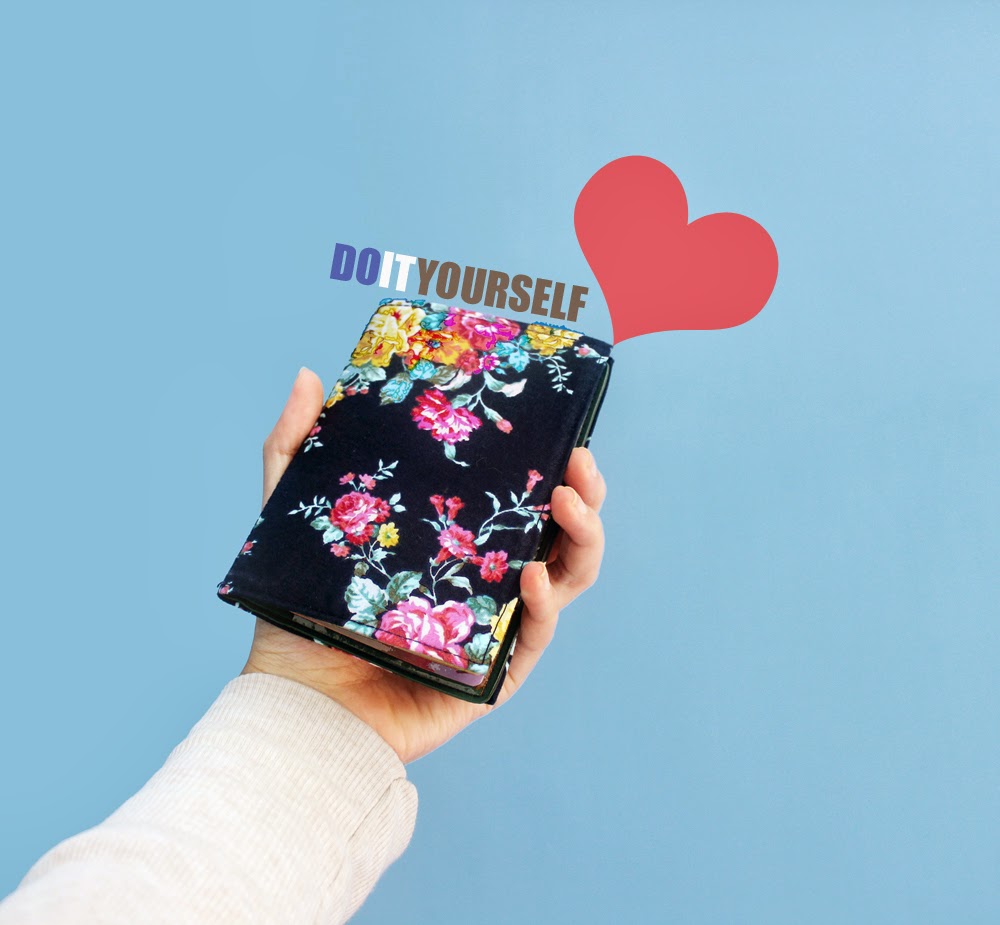
D.I.Y. Shabby Chic Passport Holder
Monday, March 31, 2014
Hello, it's been forever!
Feels sooooo weird posting like this again, I feel sorry for my blog like I've cheated on her for someone else (I mean, other new social media haha). I always want to share my daily days here but my life's seriously won't let me do it easy.
This time I want to let you guys know about my newest D.I.Y project, a 'home made' passport holder. It first came out in my mind when my mom got mad having our passport switched because the damn similar cover. If in any case we travel with family or friends and accidentally grab the wrong passport, this could be a huge problem. I was thinking of buying some new different cover that day, but hey, it's just for a cover, why not making it myself? The old one will only be some trouble anyway if you can't either use it nor (mubadzir) to throw it. Things that I am about to share today can be one of the cutest way to slide this problem away. So, let's start!
1. Prepare the materials.
2. Shaping and Sizing
 |
| Make lines along the edge of plastic cover using pencil, and make sure the leftover fabric covers wider than the passport size. |
3. Cutting
 |
| Cut the fabrics, not exactly on the line, but spare about 1-2 cm for the folding and stitching. |
4. Fold and Sew
 |
| Fold the edge following the line, press it down with your hand. |
 |
| Make sure you sew it neatly and don't let the fabric skewed. |
 |
| Don't forget to stitch the middle side of the plastic cover to remove bulge and make it perfectly patched when being folded. |
5. Your NEW CUTE PASSPORT HOLDER is done!
 |
| Clean up any leftover yarns on the stitching. |
 |
| Go put your new cute shabby chic cover on your passport. |
 |
| There YOU GO sweets! :) |
Easy right? Now, your passport becomes a cutie added to your stuffs and it's not like anyone would have it specially like yours! With just five steps and less then an hour! This works not only for passport, you can also do it for your note book, etc.
So, I finally am a student of almost the last year, and already about to start my thesis proposal. As a (kind of) Chemistry student, laboratory work and reports are totally running me out of time. Still, I am so happy to do this again, blogging! Wish this opportunity will come often but I think not very soon haha. Well, I'm still gonna have a very long hiatus, so you may find me on...Instagram.
Hope this will be useful :) Just let me know if you have something in mind, have a try and good luck!
Love, Lia :)


3 sweetness
mbak lia ini blog aku yg baru, udah lama sih_- cuman baru PD dipublikasikan hehe http://nurazizabakti.blogspot.com/
ReplyDeletenice blog! would you like to follow each other dear? :)
ReplyDeletehttp://choccopost.blogspot.com/
Terima kasih tutorialnya, saya akan coba bikin dirumah,,
ReplyDeleteLeave your thoughts below.